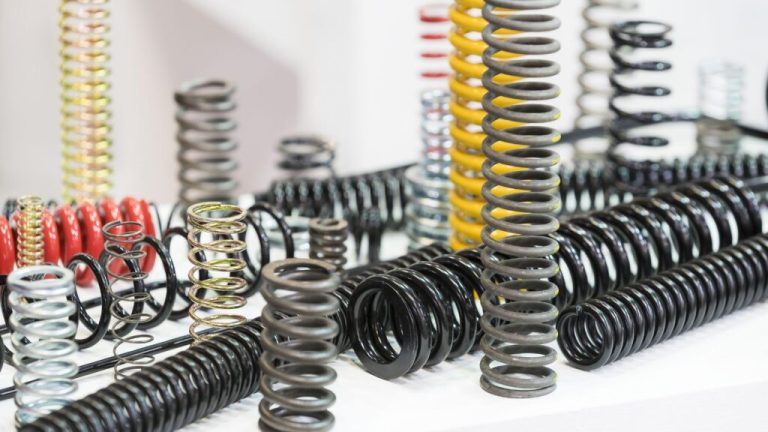
En el entorno de fabricación de ritmo rápido de hoy, la creación de prototipos plásticos se ha convertido en un paso esencial para convertir las ideas en productos tangibles y comprobables. Antes de comprometerse con la producción a gran escala, las empresas confían en los prototipos para validar la intención de diseño, evaluar la funcionalidad y ayudar a minimizar el riesgo de errores costosos en las etapas de producción posteriores. En muchos casos, un prototipo plástico bien ejecutado sirve como un puente crítico entre un concepto y un producto comercialmente viable.
Entonces, ¿cómo se crea un prototipo de plástico? Incluye una combinación de decisiones de diseño inteligente, los materiales correctos y adecuadosmétodos de fabricación—Tos de los cuales nos desglosaremos paso a paso en este artículo.
¿Qué es la creación de prototipos de plástico?
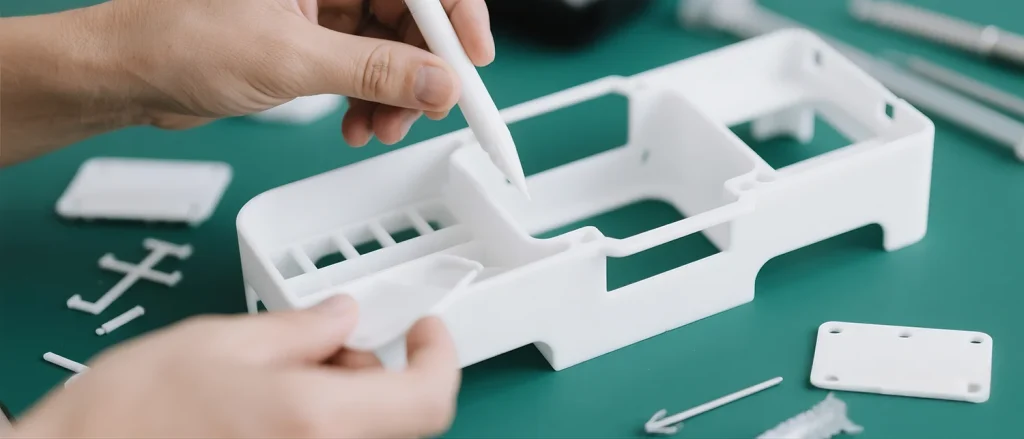
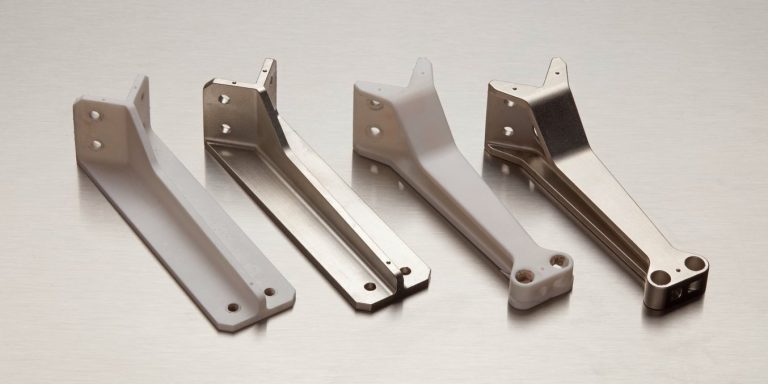
La creación de prototipos de plástico es el proceso de crear modelos físicos tempranos o muestras de un producto utilizando materiales plásticos. Estos prototipos ayudan a los fabricantes a probar y refinar la forma, el ajuste, la función y la estética de un producto antes de la producción a gran escala. Este proceso permite al equipo de ingeniería validar conceptos de diseño, identificar problemas potenciales, recopilar comentarios de los usuarios y garantizar que el producto esté listo para la fabricación y alineado con las necesidades del mercado.
Dependiendo de la madurez del diseño, un prototipo puede parecer, trabajar como o parecerse mucho al producto final. Pero "parece" y "obreros" no son las únicas formas de clasificar los prototipos. A continuación se presentan términos comunes adicionales utilizados para clasificarlos:
Prototipo visual/táctil:Una versión preliminar utilizada para mostrar características básicas como el tamaño y la forma de un producto, sin en relación con la funcionalidad o la apariencia detallada. La impresión FDM o SLA 3D se usa comúnmente para producir de manera rápida y rentable estos prototipos.
Prototipo funcional:También conocido como prototipo de trabajo, incluye características clave y materiales para replicar las funciones centrales del producto final. Permite la prueba de ajuste, rendimiento mecánico y usabilidad. Para requisitos especiales como la seguridad alimentaria, la claridad o la resistencia a la presión, a menudo se requieren métodos como mecanizado o fundición.
Prototipo de alta resolución:Una versión casi final que se parece mucho al producto final en apariencia, función y acabado. Es ideal para presentaciones de partes interesadas, pruebas de usuarios, marketing o aprobación de preproducción. Las técnicas de alta detonancia como SLA, Polyjet o fundición al vacío se usan comúnmente.
A medida que estos prototipos se vuelven más refinados, pasan por múltiples fases de prueba para garantizar la preparación para la producción. Estas etapas de prueba son importantes para validar la integridad del diseño, el rendimiento y la capacidad de fabricación.
Hay tres tipos de pruebas comúnmente utilizadas:
Pruebas de validación de ingeniería (EVT)se realiza típicamente en la etapa inicial de la creación de prototipos, verificando si las funciones centrales del producto funcionan según lo previsto. Esta fase se centra en identificar fallas de diseño fundamentales y problemas potenciales, proporcionando comentarios valiosos para mejoras de diseño adicionales.
Pruebas de validación de diseño (TVP)se realiza típicamente después de la validación y optimización de diseño inicial. No solo verifica la funcionalidad del producto, sino que también prueba de manera exhaustiva su usabilidad, confiabilidad, cumplimiento de las regulaciones y estándares y otros aspectos.
Pruebas de validación de producción (PVT)se realiza cuando el diseño del producto está casi finalizado y se acerca a la producción en masa. Es una transición crucial de las carreras piloto a la fabricación a gran escala. PVT se centra en validar la configuración de la línea de producción, los procesos de fabricación y la calibración de equipos. Incluye pruebas de producción, inspección del primer artículo (FAI) y confirmación de que el producto se puede construir a escala con una calidad consistente.
Métodos comunes para la creación de prototipos plásticos
En el ciclo de desarrollo de productos, desde la validación del concepto temprano hasta las pruebas de preproducción, se emplean técnicas diferentes para cumplir diversos objetivos. Algunos métodos priorizan la iteración rápida, mientras que otros apuntan a replicar la calidad y el rendimiento del producto final. En la creación de prototipos de plástico, cuatro métodos de fabricación ampliamente utilizados destacan sus ventajas y versatilidad únicas.
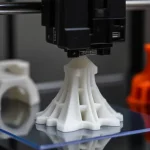
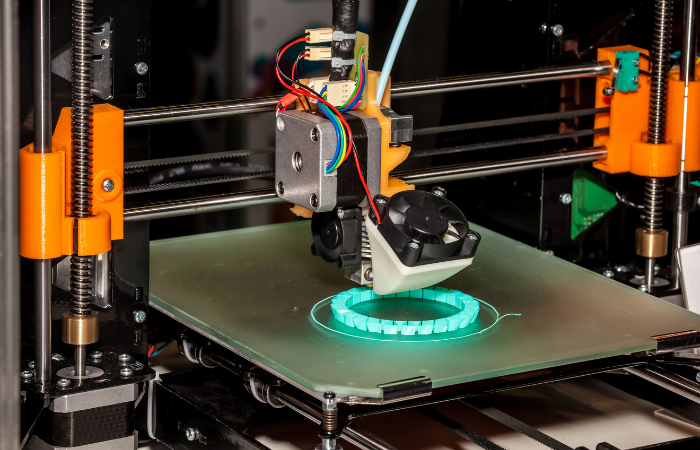
Impresión 3D
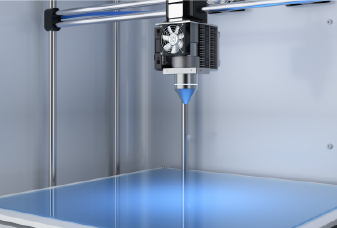
La impresión 3D, o la fabricación aditiva, es un término general que abarca una amplia gama de técnicas que construyen objetos tridimensionales al agregar material de material por capa desde un modelo digital. Estas técnicas admiten prototipos rápidos y iteraciones múltiples y pueden producir geometrías complejas sin la necesidad de moldes o herramientas personalizadas. A continuación se presentan tres de los métodos más populares para fabricar prototipos de plástico:
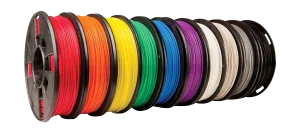
Modelado de deposición fusionado (FDM):Un método de impresión 3D de bajo costo, ampliamente utilizado para modelos conceptuales de etapa temprana y prototipos funcionales simples. Extruye los filamentos termoplásticos como PLA, ABS o PETG a través de una boquilla calentada, depositando la capa de material por capa. Sin embargo, las piezas de FDM pueden tener líneas de capa visibles e integridad estructural reducida.
Estereolitografía (SLA):Utiliza un láser UV para curar la resina líquida en un IVA, produciendo piezas con alta precisión y excelente acabado superficial. Esto lo convierte en una opción superior para modelos visuales, prototipos de alta resolución y piezas de grado de presentación. Sin embargo, SLA es generalmente más caro debido a resinas y equipos especializados, y sus piezas impresas son típicamente más frágiles que los termoplásticos. A menudo se requiere después del curado para lograr una resistencia mecánica completa.
Sinterización láser selectiva (SLS):Utiliza un láser de alta potencia para fusionar plásticos en polvo como el nylon o la TPU en capas sólidas, produciendo prototipos duraderos y funcionales. Dado que el polvo no interesado rodea la pieza durante la impresión, no se necesitan estructuras de soporte: hacer SLS bien adecuados para geometrías complejas, canales internos y características cerradas. Sin embargo, las piezas impresas a menudo tienen un acabado superficial ligeramente granulado y pueden requerir un procesamiento posterior para una apariencia más suave.
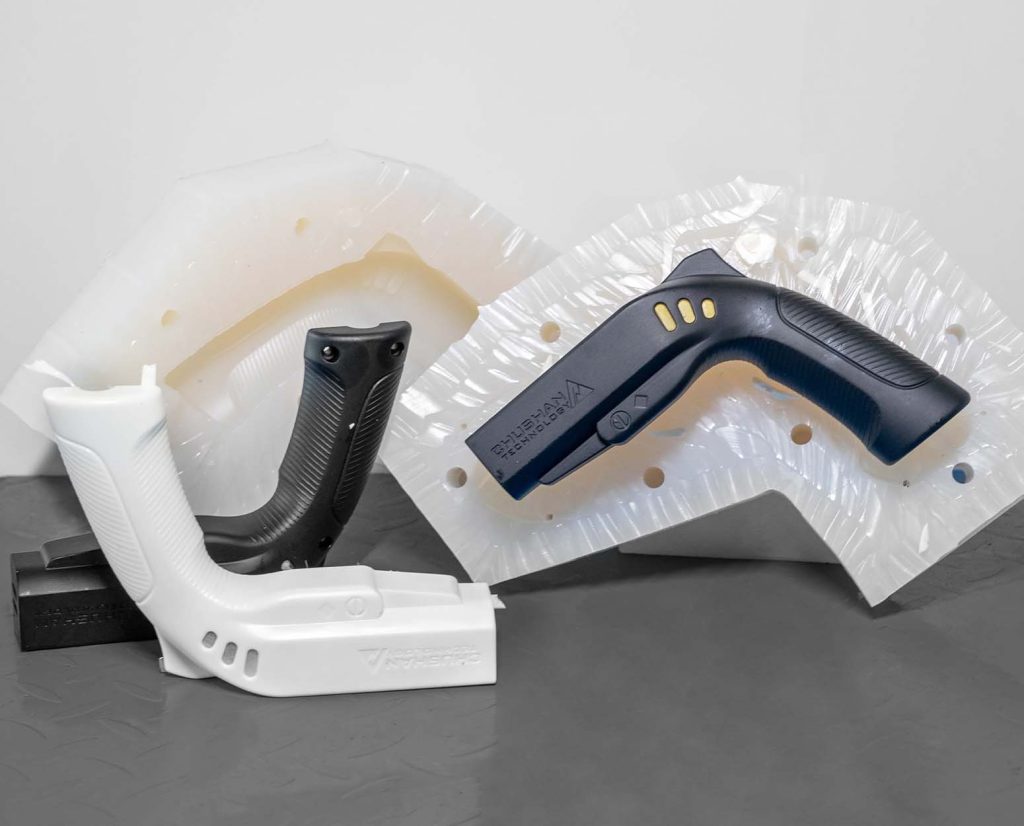
Colocación de aspiradoras
La fundición al vacío, también conocida como fundición de uretano, es un método de fabricación de bajo volumen que utiliza moldes de silicona y resinas de poliuretano para producir piezas de plástico con alta calidad de superficie y detalles finos. El proceso comienza con un modelo maestro impreso en 3D de alta calidad, que se utiliza para crear un molde de silicona flexible capaz de replicar geometrías complejas y características sutiles de superficie.
Esta técnica se usa típicamente en etapas de creación de prototipos posteriores cuando el diseño es maduro y se necesita un pequeño lote de prototipos consistentes. Es especialmente adecuado para producir prototipos funcionales, modelos de presentación y componentes de verificación de ajuste, como embarcaciones, carcasas o cubiertas.
En particular, la fundición al vacío es una solución rentable para producir de 10 a 100 unidades para pruebas de validación de ingeniería. Cuando se requieren múltiples piezas idénticas, a menudo proporciona costos por unidad más bajos que la impresión 3D, especialmente para la replicación a corto plazo. Además, los moldes de silicona son menos costosos que los moldes de metal, pero tienen una vida útil limitada, que generalmente producen 20 a 25 piezas por molde.
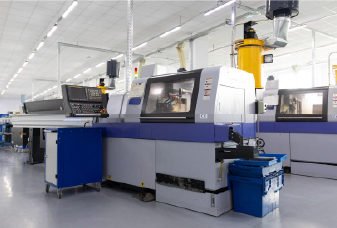
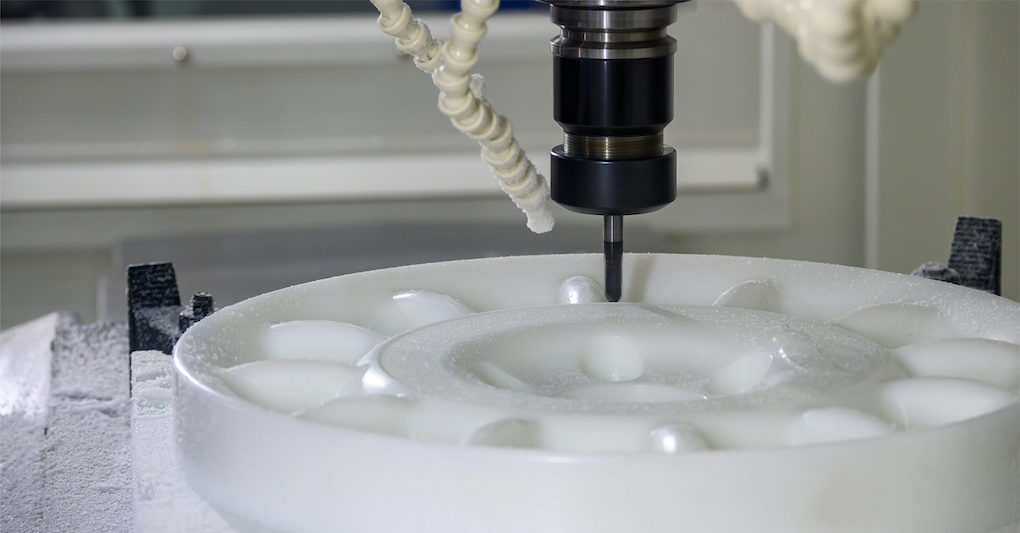
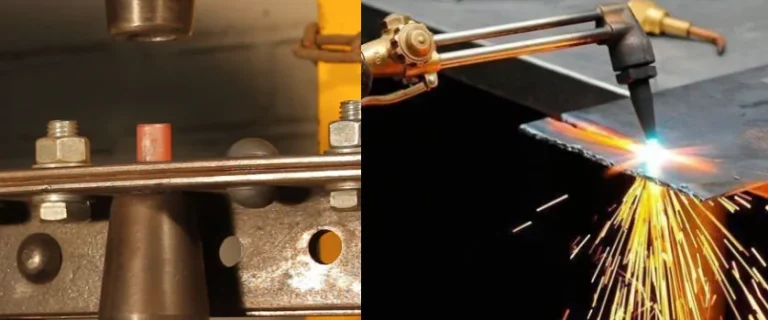
Mecanizado CNC
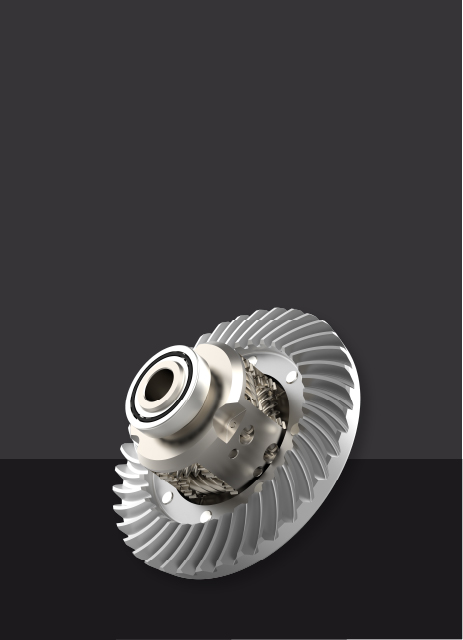
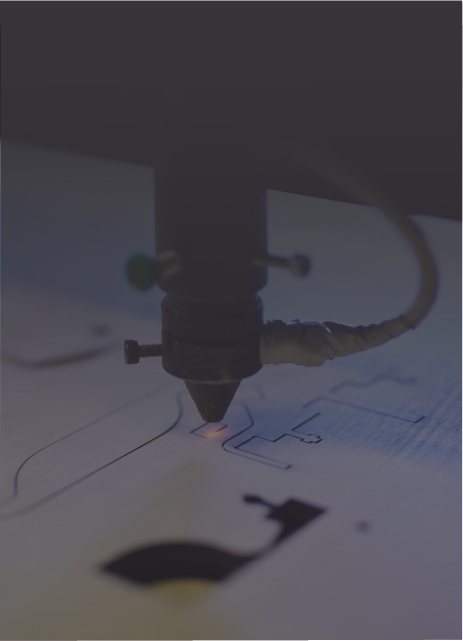
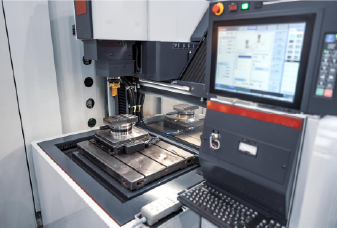
Plástico de mecanizado de CNCUtiliza máquinas herramientas controladas por computadora para eliminar el material de un bloque sólido. Este proceso admite tolerancias estrictas y ofrece una excelente repetibilidad, lo que permite la creación de geometrías complejas, incluidos hilos finos, subcollos y otras características complejas.
El mecanizado CNC a menudo se usa para prototipos funcionales de la etapa media a tardía que exigen una alta precisión y fuerza. Proporciona propiedades uniformes de material para pruebas confiables de ajuste, forma y función, a diferencia de la impresión 3D, que puede sufrir debilidades entre capas. El proceso también permite el uso de varios materiales, lo que le brinda la flexibilidad de elegir la mejor opción para sus necesidades específicas. Los servicios disponibles incluyen fresado, giro y engranaje.
Moldura de inyección
El moldeo por inyección no suele ser la primera opción para la creación de prototipos porque lleva mucho tiempo y cuesta más. Sin embargo, Chiggo puede producir rápida y efectivamente moldes de acero para PVT, la etapa de prueba final antes de la producción, con muestras T1 (las primeras piezas producidas por la herramienta de producción) disponibles en tan rápido como 10 días.
Además, cuando se produce 100 o más prototipos de plástico, los métodos de giro rápido que utilizan moldes de aluminio o impresos en 3D con una base de molde estándar pueden reducir el tiempo y el costo sin sacrificar la calidad, aunque generalmente ofrecen una precisión más baja y no son tan duraderos como los moldes de acero.
Materiales comunes para un prototipo de plástico
Colectivamente, los cuatro métodos de prototipos de plástico admiten una amplia gama de materiales de resina de plástico. Sin embargo, como muestra la tabla a continuación, existen diferencias en lo que cada método admite.
Materiales
Impresión 3D
Colocación de aspiradoras
Mecanizado CNC
Moldura de inyección
Abdominales
Bien
Bien
Excelente
Excelente
Policarbonato (PC)
Justo
Bien
Bien
Excelente
Polipropileno (PP)
Justo
Justo
Justo
Excelente
Nylon
Excelente
Bien
Bien
Bien
Acrílico (PMMA)
Bien
Excelente
Justo
Bien
Polietileno (PE)
Pobre
Justo
Justo
Excelente
Ácido poliláctico (PLA)
Excelente
Justo
Justo
Justo
Poliuretano termoplástico (TPU)
Bien
Bien
Pobre
Bien
Cetona de éter poliéter (mirada)
Bien
Pobre
Excelente
Excelente
Acetal (POM)
Justo
Bien
Excelente
Excelente
Tereftalato de polietileno (PET)
Bien
Justo
Bien
Excelente
Cloruro de polivinilo (PVC)
Justo
Bien
Justo
Excelente
Tenga en cuenta que:
1. Las clasificaciones de fundición al vacío reflejan la viabilidad de las resinas de PU análogas, no la fundición directa del polímero base.
2. Las clasificaciones de impresión 3D se basan en el proceso aditivo más maduro y rentable para cada material:
FDM/FFF:Adecuado para ABS, PLA, PETG, TPU (plásticos de temperatura baja a media). Lucha con un alto pp/PE. Las máquinas de alta temperatura pueden imprimir un vistazo pero requieren un estricto control de proceso.
SLS/MJF:Nylon PA11/PA12 y sus compuestos son excelentes; El polvo PP dedicado es justo; PE, PVC, TPU permanece nicho o experimental.
SLA/DLP:Imprime acrílico, como ABS, y PP, como fotopolímeros con excelente claridad y acabado superficial, pero las propiedades mecánicas se retrasan detrás de los plásticos nativos; No es adecuado para plásticos de ingeniería semi cristalina como POM o PEEK.
3. El mismo material puede funcionar de manera diferente dependiendo del método. Por ejemplo, una parte ABS realizada por CNC puede no coincidir con la resistencia o el acabado de una moldeada por inyección debido a las diferencias estructurales.
4. Siempre alinee su método de elección y fabricación de materiales con su fase de prueba actual y objetivos de rendimiento.
Una guía paso a paso para hacer un prototipo de plástico
A continuación, explicaremos paso a paso cómo construir un prototipo de plástico y resaltaremos las consideraciones clave en el camino.
Paso 1: Aclare qué tipo de prototipo necesita
Antes de ingresar al proceso técnico, es crucial identificar el propósito y el uso previsto de su prototipo. La aplicación determinará qué tipo de prototipo es más adecuado:
Si está en la etapa de ideación temprana y necesita explorar o presentar la forma, el tamaño o la ergonomía de un producto, sin preocuparse por la funcionalidad, es apropiado un modelo conceptual.
Si el objetivo es probar el comportamiento mecánico, evaluar la interacción parcial o simular la experiencia del usuario, un prototipo funcional es la opción correcta.
Para la validación visual, las presentaciones de las partes interesadas o los materiales de marketing, un prototipo de alta resolución ofrece la apariencia refinada y la precisión necesaria.
Si se está preparando para la producción en masa y necesita verificar los materiales, la fabricación o el cumplimiento de los estándares de la industria, un prototipo de nivel de producción ayudará a garantizar la preparación.
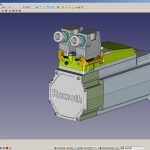
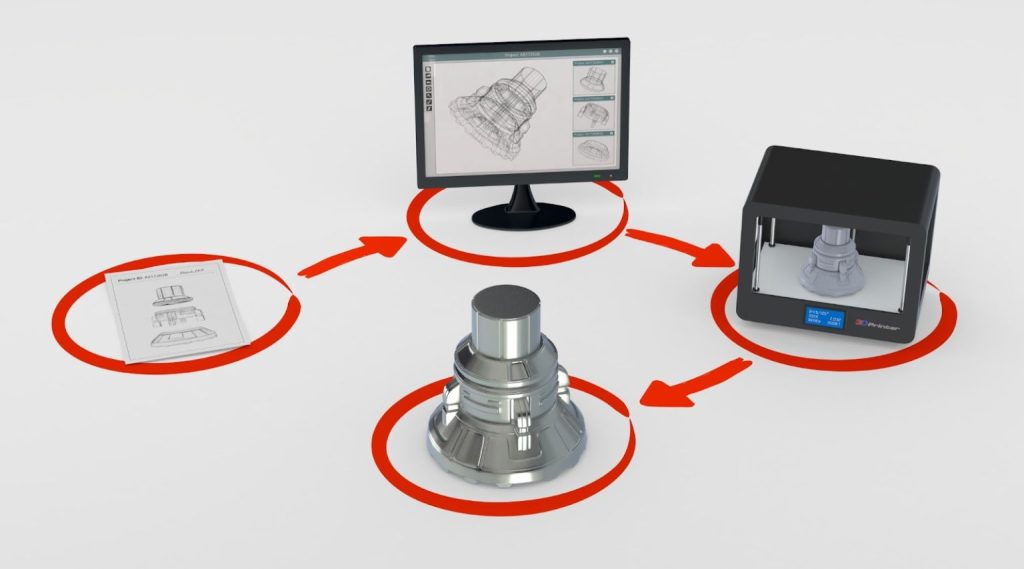
Paso 2: Prepare un modelo CAD
Una vez que haya aclarado el tipo de prototipo necesario, el segundo paso es crear un modelo CAD (diseño asistido por computadora), que sirve como plan digital para su prototipo. El modelo CAD define la geometría, las dimensiones y las interfaces de ensamblaje de la pieza. Un archivo CAD claro y bien preparado puede reducir la ambigüedad, minimizar los errores de producción y acelerar el proceso de prototipos.
Para garantizar la capacidad de fabricación, puede seguir los puntos a continuación:
Definir dimensiones y tolerancias críticas, especialmente para partes móviles o interfaces.
Incluya relaciones de ensamblaje si su producto es multi-componente.
Considere los ángulos de borrador, el grosor de la pared y los socavados si planea utilizar técnicas de moldeo.
Prepare los dibujos 2D si es necesario, para resaltar las especificaciones clave que pueden no ser obvias en el modelo 3D.
Paso 3: elija el método de prototipos correcto
Una vez que se finalice su diseño, elija un método de creación de prototipos que se ajuste a su línea de tiempo, presupuesto, necesidades de material y requisitos de rendimiento. Cada método ofrece fortalezas y compensaciones únicas, a favor de la iteración rápida, mientras que otros se destacan en pruebas funcionales o validación de producción. La siguiente tabla compara cuatro métodos de creación de prototipos comunes basados en el costo, el tiempo de entrega y la idoneidad para diferentes etapas de desarrollo para ayudarlo a decidir.
Elementos
Impresión 3D
Colocación de aspiradoras
Mecanizado CNC
Moldura de inyección
Costo de herramientas
N / A
Bajo
N / A
Alto
Costo unitario
Moderado
Alto
Alto
Bajo
Cantidades
1-50
5-100
1-50
100 y más
Tiempo de entrega
Horas a días
1-2 semanas
3-7 días
≥ 2 semanas
Opciones de material de plástico
Moderado
Bien
Bien
Excelente
Prototipos de la etapa temprana
Excelente
Moderado
Bien
Pobre
Estético
Bien
Excelente
Bien
Excelente
Prototipos de forma y ajuste
Moderado
Bien
Bien
Excelente
Prototipos funcionales
Moderado
Bien
Excelente
Excelente
Crear prototipos de plástico con Chiggo
La creación de prototipos plásticos es un paso crítico que une su diseño para la producción, ayuda a reducir los costos al identificar los problemas de diseño temprano, minimizar el reelaboración y evitar cambios costosos, en última instancia, ayudándole a acelerar su camino hacia el mercado. En Chiggo, ya sea que necesite un solo prototipo, una producción personalizada a pequeña escala o listo para avanzar hacia la fabricación a gran escala, lo tenemos cubierto. Nuestros ingenieros y diseñadores experimentados trabajan en estrecha colaboración con usted para optimizar su diseño y asegurarse de que se pueda fabricar sin problemas. Además, no tenemos requisitos de pedido mínimo. ¿Tiene una idea en mente?Contáctenos hoy and let’s bring it to life!