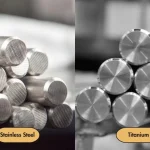
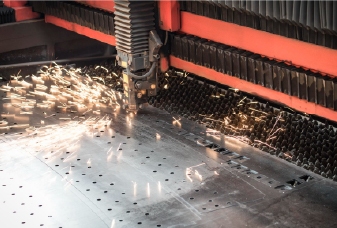
由于暴露于氧气,水分,高温和机械磨损,金属成分往往会随着时间而变化。抛光会产生镜面平滑的表面,可最大程度地减少腐蚀起始位点并防止表面污染。最终的饰面增强了装饰吸引力,并为功能用途(例如光反射器)提供了高反射率。此外,通过消除表面不规则性,抛光消除了充当应力浓缩剂的微型注释,从而改善了疲劳寿命。
在本文中,我们介绍了抛光,探索其好处和常见应用的关键步骤和方法,并共享实用技巧,以帮助您保持零件的性能和外观。
什么是抛光效果,如何工作?

抛光使用磨料逐渐消除缺陷和划痕加工零件,旨在实现光滑,反射的表面。可以根据材料和所需结果应用各种技术。例如,机械抛光通常用于金属,而化学方法更适合某些类型的石材,玻璃或塑料。
无论材料或饰面质量如何,抛光过程通常都会遵循几个关键步骤,将粗糙的表面转化为镜面状的表面。
步骤#1:粗糙
从粗糙的磨削开始,以消除加工,焊接和铸造的重大表面不规则和深划痕。使用装有40-60砂光盘或皮带的角磨或皮带砂光机快速击倒高点。然后切换到装有120-240砂纸的随机轨道砂光机,以平整表面并擦除任何剩余的磨削标记。
步骤2:抛光
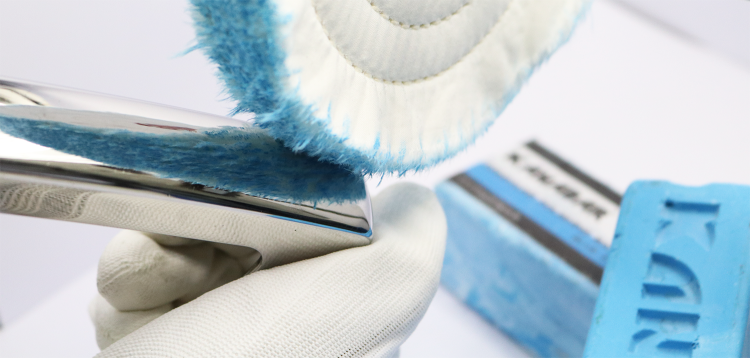
粗糙结束后,使用安装在长凳抛光机或手持式旋转工具上的羊毛抛光引擎盖或棉花抛光轮将切割化合物涂在零件上。一旦粗化合物除去剩余的划痕,便切换到装有更精细的抛光化合物的泡沫抛光垫或更精细的布轮毂,以擦除微型胶合物并建立类似镜子的光泽。通过用干净的超细纤维布擦拭表面以去除任何复合残留物并验证均匀的高反射性饰面。
步骤#3:抛光或增亮
抛光后,零件可能有轻微的雾霾或微观划伤。要获得均匀的镜面饰面,安装软布轮或法兰绒抛光拖把上的抛光机上涂上光线,涂上光明的化合物,甚至均匀,甚至压力直至雾霾消失。最终的抛光步骤进一步增强了表面亮度,提供了一致的高反射性饰面。
步骤#4:保护
要保留抛光效果,请涂一层薄层的防护蜡,油或透明的漆以密封表面。该层有助于保持光泽,阻塞水分和污染物,并延长组件的使用寿命。无论您是否包括此步骤以及您选择的涂层,都取决于零件的材料,操作环境和耐用性要求。
不同类型的抛光方法及其优点和缺点
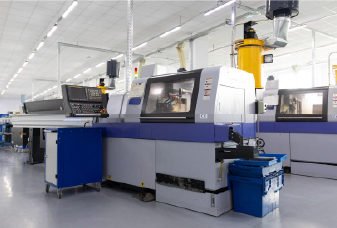
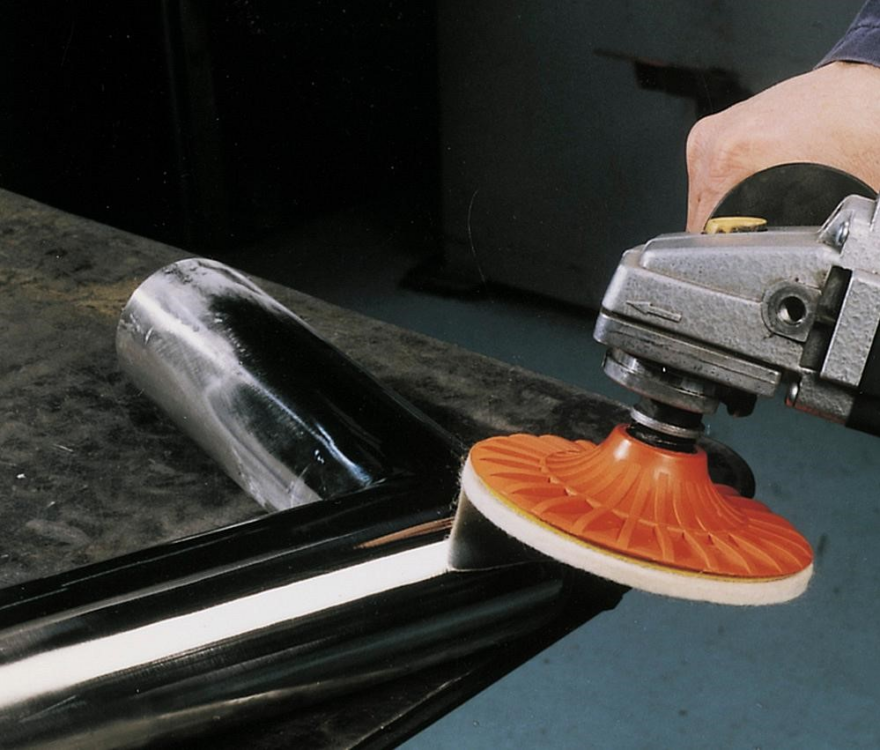
机械抛光
这是金属加工中最常见的整理技术,通常先于化学或电解抛光。它依靠磨料工具和工件之间的直接接触来清除材料并平滑划痕,工具标记和其他表面缺陷。您可以手动或使用电力设备(例如台式抛光剂,角度研磨机和轨道砂光机)进行操作,并配备有磨石带,圆盘,车轮或垫子。
优点
- 良好控制表面纹理和光泽
- 有效地清除了沉重的缺陷和毛刺
- 低设备成本和广泛可用的工具
- 能够在金属上实现真正的镜子饰面
- 有助于降低压力浓度
缺点
- 劳动密集型,可能很耗时
- 产生可能扭曲或变色零件的热量
- 需要操作员的技能以避免区域不平坦或旋转痕迹
- 对复杂几何形状和软材料的挑战
化学抛光
在化学抛光中,工件浸入了受控浴中,其解决方案选择性地溶解了微观的高点,使表面粗糙度平滑以产生均匀,明亮的饰面。通过调整浴缸温度,浓度和浸入时间,此过程可以处理紧密或复杂的几何形状,而无需任何机械磨损。
优点
- 在没有机械接触的情况下提供均匀的饰面
- 到达内部渠道和工具无法访问的复杂形状
- 允许一次批量处理多个部分
- 在工件或工具上没有机械压力
- 通过留下干净,钝的表面来改善耐腐蚀性
缺点
- 涉及处理和处置有害化学品
- 与机械方法相比,对精细纹理的控制更少
- 浴场参数(温度,时间,浓度)必须紧密地管理以避免过度蚀刻
- 需要彻底冲洗和中和以阻止反应并防止蚀刻后腐蚀
电解抛光(电抛光)
通常认为这是电镀。该工件没有沉积金属,而是用作酸电解质的正电极(阳极),并将阴极放置在旁边。当直流电流流动时,金属离子从阳极上的微观高点优先溶解,将表面平滑成明亮的镜面状饰面。
优点
- 达到极低的RA(表面粗糙度)和类似镜的光泽,优于机械抛光
- 通过去除嵌入的杂质来改善耐腐蚀性
- 在零件或工具上没有机械压力
- 可以到达并抛光内部孔,通道和其他隐藏特征
缺点
- 需要专门的设备(DC电源,耐酸罐,过滤)和仔细处理有害化学品
- 仅在导电金属上工作
- 复杂的固定(自定义阴极或夹具)通常需要深孔或不规则的几何形状
- 需要彻底的治疗前后(脱脂,冲洗,中和)
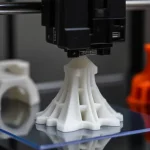
蒸气抛光
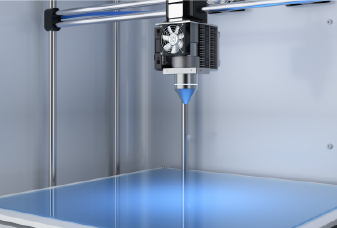
蒸气抛光主要用于透明或半透明的塑料,尤其是3D打印的ABS,PMMA或PC,以提高光学清晰度和表面光滑度。该零件放在密封的腔室中,其中溶剂蒸气(例如丙酮或二氯甲烷)轻轻融化表面层峰,擦除了层线,而无需任何机械磨损。
优点
- 特别有效地对透明材料
- 与手动打磨相比的快速周期时间
- 非接触过程,适用于精致或复杂的几何形状
- 平滑和密封微型倍数,提高耐化学性和清洁的易度性
缺点
- 需要精确的控制以避免过度暴露和变形
- 涉及危险的溶剂蒸气,需要适当通风和PPE
- 仅限于溶剂兼容的塑料;不适用于所有聚合物
抛光表面饰面的应用
高度抛光的表面是光滑的,可减少运动部件之间的摩擦和磨损。这种平滑度也使表面较小,含有细菌的可能性较小,更容易清洁,从而降低污染风险。
此外,抛光金属的亮度增强了光反射率,通常与奢侈品和质量有关,并有助于反射热量,帮助热管理。这些好处使各行业都有广泛的应用,包括:
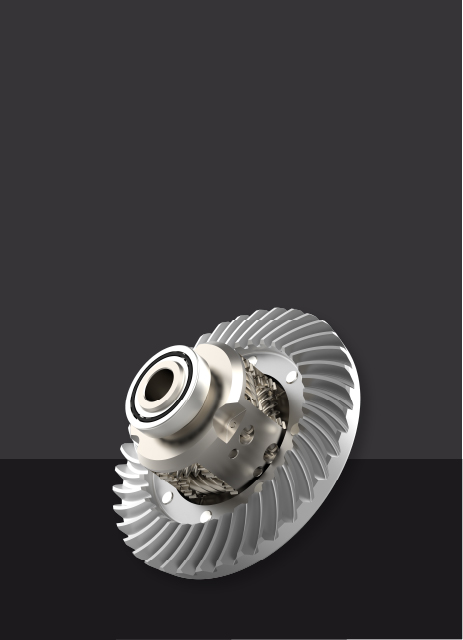
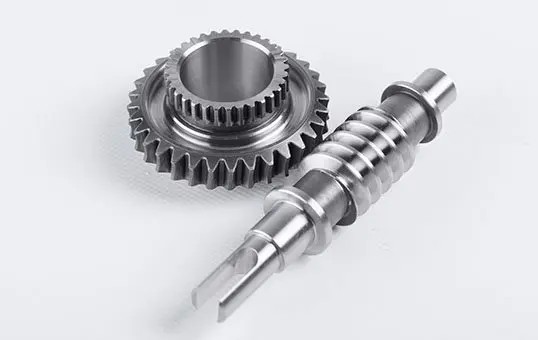
- 机械组件和汽车零件,例如齿轮,轴承,保险杠,轮辋和装饰。
- 医疗设备,包括手术仪器和植入物。
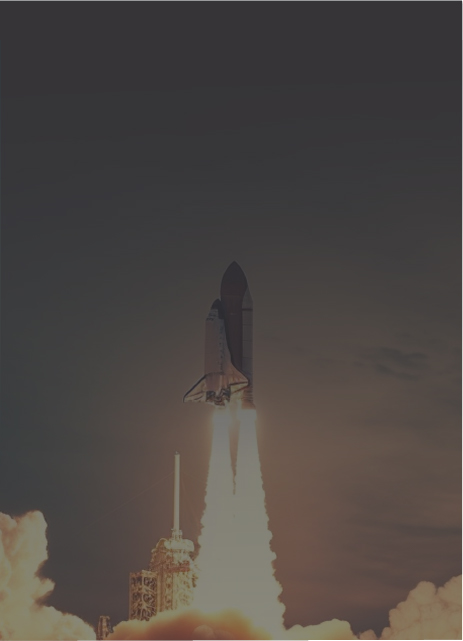
- 航空航天组件,就像喷气发动机中的抛光涡轮叶片一样。
- 流体流系统,尤其是管道和流体处理航空航天部件的内部表面。
- 照明系统和光学设备,包括望远镜镜子和汽车大灯。
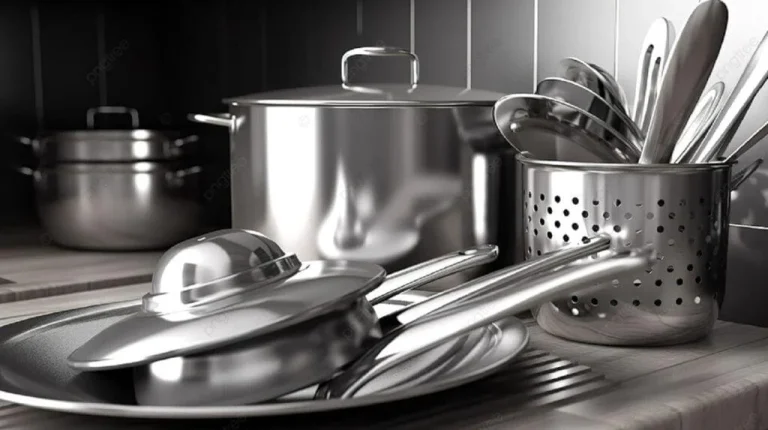
- 消费品,从食品接触表面到珠宝和手表。
抛光饰面的成绩等级选项
不同的行业和地区使用各种系统来对抛光的表面成绩进行分类。指定饰面的两种常见方法是通过磨砂砂粒尺寸(与表面粗糙度相关)和视觉光泽。典型的分类如下所示。
| 成绩等级 | 砂砾大小(ANSI) | 描述 |
| 粗 | 40-60 | 重抛光以消除大划痕和焊接标记 |
| 中等的 | 80-120 | 适度平滑度的标准抛光 |
| 美好的 | 180-240 | 精细的抛光以达到平滑的表面 |
| 很好 | 320-1200 | 超细抛光,以进行非常光滑或近乎摩擦的效果 |
表面粗糙度按砂砾尺寸| 年级 | 光泽描述 | 典型的应用 |
| 哑光的 | 柔和的光泽扩散 | 硬件,艺术装置必须最小化眩光 |
| 缎 | 低光,柔和的外观 | 室内设计元素,设备面板 |
| 明亮的 | 反光光泽 | 汽车细节,珠宝,面向消费者的饰边 |
| 镜像 | 极高,完美的反射率 | 光学设备,镜子,高端装饰品 |
视觉光泽等级抛光最佳结果的提示
为了保持一贯光滑,镜面的饰面,请考虑以下最佳实践:
选择正确的抛光技术
最好的方法取决于您的材料,部分几何形状,所需的饰面和批处理大小。对于大多数金属,机械抛光提供了直接控制工具标记的直接控制,而化学抛光或电抛光则可以提供明亮的耐腐蚀光泽,而无需接触,甚至可以达到隐藏的通道。蒸气抛光在清晰的塑料上擦除了层线。振动饰面有效地处理大批量,手动工具或溶剂蒸气最适合一次性原型。
使用正确的磨料和工具
选择磨蚀剂以匹配每个抛光阶段:40-80粒砂带或圆盘以进行重度去除,120-240砂垫用于表面平滑,而在软棉或泡沫轮上进行400-800粒度,用于最终的光泽。此外,选择垫子刚度以适合零件的形状 - 平面区域的辅助垫,以及柔软的柔性垫,用于曲线和轮廓。最后,调整每个砂粒的刀具速度和压力:较低的rpms,更轻的压力可防止过热并延长磨料寿命。
在两步之间清洁
在每个抛光阶段之后,在切换砂砾之前删除所有残留物。用无棉布布和一点溶剂(例如异丙醇)擦拭零件,然后用压缩空气清除凹槽。对于复杂的形状,用温水和温和的洗涤剂冲洗,然后完全干燥。这样可以防止粗颗粒引起新的划痕,并确保每个砂砾有效地工作,以保持一致,光滑的光洁度。
定期检查并测量
在关键阶段进行定期检查使您的零件保持在规格上,并且无法进行返工。在每个砂砾阶段之后,在良好的照明下检查表面,或用大腿确认刮擦,甚至光泽。使用便携式轮廓仪或手写笔测试仪测量粗糙度来验证RA,并使用卡尺或千分尺检查关键尺寸。尽早捕获任何脱离目标或尺寸偏差,使您可以立即调节压力,速度或磨碎的砂砾,以确保抛光过程保持在正轨上。
记录您的过程
当您记录抛光过程时,将其视为每次都想钉的食谱。记录零件ID,日期和操作员,然后记下您使用的确切工具和磨料 - 每个阶段的机器类型,垫子或车轮材料以及砂粒尺寸。记下您的压力设置,主轴速度或手动式RPM,以及在每个砂砾上花费多长时间。抛光后,日志测量的表面粗糙度值,您发现的任何缺陷以及进行了哪些调整。以共享的格式保留这些细节,无论是简单的电子表格还是数字表单,都可以使您可以重现获胜的设置,当出现问题时的现场模式以及更快的新团队成员。
结论
当抛光表面饰面增强您的产品的美学吸引力时,它也可以提高其功能。在Chiggo,我们理解这一点,我们准备将您的原型视野变成现实。我们提供高质量的CNC加工和3D打印服务以及顶级饰面,包括抛光的表面饰面。我们保证您期望以有竞争力的价格获得的结果。立即与我们联系以获取即时报价呢
抛光表面饰面常见问题解答
什么是抛光化合物?
抛光化合物是含有细磨料颗粒混合成培养基的物质,可以以糊状,棒,液体或粉末的形式形式。它们通常与抛光工具(例如车轮,垫子或布)结合使用,以平滑和改善物体的表面饰面。
抛光和抛光之间有什么区别?
抛光是一种用于平滑表面缺陷并制备表面的过程,通常是使用更粗糙的磨料。它会产生统一的饰面,但不一定会增加光泽。另一方面,抛光是在抛光后进行的,并使用较细的磨料贴上较软的车轮来实现高光或镜面状的光洁度。
抛光集中于平整表面,但抛光旨在增强光泽。
刷牙和抛光之间有什么区别?
刷牙和抛光剂具有不同的目的,并产生不同的饰面。刷牙会产生一种质感的哑光效果,可增强耐用性并有助于掩盖瑕疵和指纹。相反,抛光会产生高度反射,光滑的表面,从而提高了表面质量和外观。
抛光和饰面有什么区别?
抛光和精加工是相关的,但不是相同的术语。精加工是一个广义术语,涵盖了加工或制造后用于改善零件表面的所有过程,包括清洁,毛刺,涂料,涂层,绘画,阳极氧化等。抛光只是一种类型的饰面过程,专门用于使用磨料来平滑表面,以减少粗糙度并产生均匀的,通常有光泽的外观。简而言之,所有抛光都在完成,但并非所有抛光都在抛光。