Metal components tend to age and tarnish over time due to exposure to oxygen, moisture, high temperatures and mechanical wear. Polishing creates a mirror-smooth surface that minimizes corrosion initiation sites and prevents surface contamination. The resulting finish enhances decorative appeal and delivers high reflectivity for functional uses such as optical reflectors. Moreover, by removing surface irregularities, polishing eliminates micro-notches that act as stress concentrators, thereby improving fatigue life.
In this article, we cover the key steps and methods of polishing, explore its benefits and common applications, and share practical tips to help you maintain both the performance and appearance of your parts.
What Is a Polishing Finish and How Does It Work?
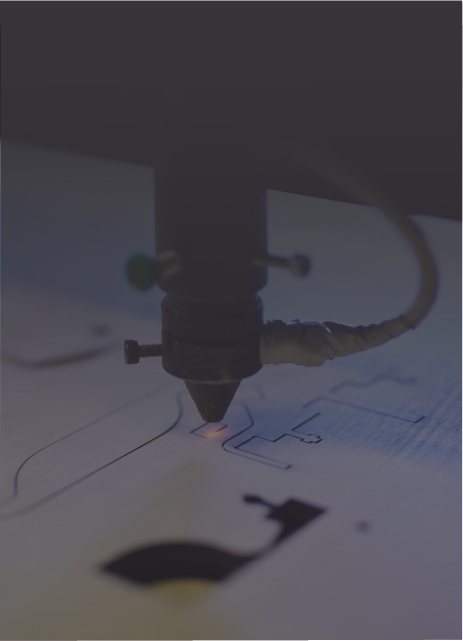
Polishing uses abrasives to gradually remove imperfections and scratches from machined parts, aiming to achieve a smooth, reflective surface. Various techniques can be applied depending on the material and the desired outcome. For instance, mechanical polishing is commonly used for metals, while chemical methods are more suited for certain types of stone, glass, or plastic.
Regardless of the material or the finish quality, the polishing process typically follows several key steps to transform a rough surface into a mirror-like finish.
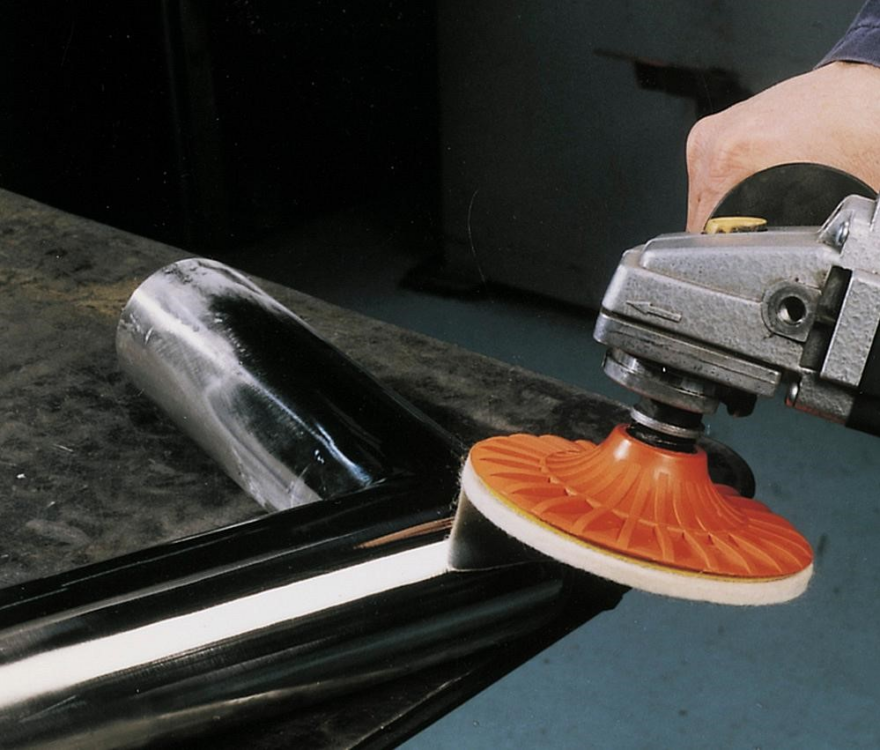
Step #1: Roughing
Begin with coarse grinding to remove major surface irregularities and deep scratches from machining, welding, and casting. Use an angle grinder or belt sander fitted with 40–60 grit discs or belts to knock down high spots quickly. Then switch to a random orbital sander loaded with 120–240 grit sandpaper to level the surface and erase any remaining grinding marks.
Step #2: Polishing
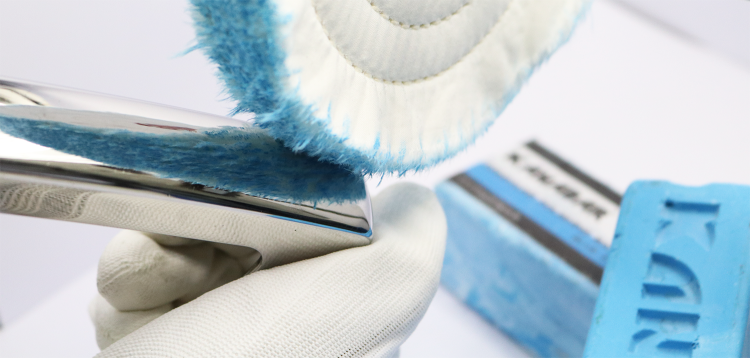
After roughing, apply a cutting compound to the part using a wool buffing bonnet or cotton buffing wheel mounted on a bench polisher or handheld rotary tool. Once the coarse compound has removed the remaining scratches, switch to foam polishing pads or finer cloth wheels loaded with progressively finer polishing compounds to erase micro-grooves and build a mirror-like gloss. Finish by wiping the surface with a clean microfiber cloth to remove any compound residue and verify a uniform, high-reflectivity finish.
Step #3: Buffing or Brightening
After polishing, parts may have a slight haze or micro-scratches. To achieve a uniform, mirror-like finish, mount soft cloth wheels or flannel buffing mops on your polisher and apply a fine brightening compound with light, even pressure until the haze disappears. This final buffing step further enhances surface brightness, delivering a consistent, high-reflectivity finish.
Step #4: Protecting
To preserve the polished finish, apply a thin coat of protective wax, oil, or clear lacquer to seal the surface. This layer helps maintain shine, block out moisture and contaminants, and extend the component’s service life. Whether you include this step—and which coating you choose—depends on the part’s material, operating environment, and durability requirements.
Different Types of Polishing Methods and Their Pros and Cons
Mechanical Polishing
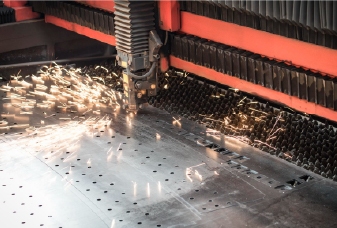
This is the most common finishing technique in metalworking and usually precedes chemical or electrolytic polishing. It relies on direct contact between an abrasive tool and the workpiece to remove material and smooth out scratches, tool marks, and other surface defects. You can do it by hand or with powered equipment such as bench polishers, angle grinders and orbital sanders fitted with abrasive belts, discs, wheels or pads.
Pros
Good control over surface texture and gloss
Effective removal of heavy defects and burrs
Low equipment cost and widely available tools
Capable of achieving a true mirror finish on metals
Helps reduce stress concentrations
Cons
Labor-intensive and can be time-consuming
Generates heat that may distort or discolor the part
Requires operator skill to avoid uneven areas or swirl marks
Challenging for complex geometries and soft materials
Chemical Polishing
In chemical polishing, the workpiece is immersed in a controlled bath whose solution selectively dissolves microscopic high spots, smoothing out surface roughness to produce a uniform, bright finish. By tuning bath temperature, concentration, and immersion time, this process can treat tight or complex geometries without any mechanical abrasion.
Pros
Delivers a uniform finish without mechanical contact
Reaches internal channels and complex shapes that tools can’t access
Allows batch processing of multiple parts at once
Puts no mechanical stress on the workpiece or tooling
Improves corrosion resistance by leaving a clean, passivated surface
Cons
Involves handling and disposal of hazardous chemicals
Provides less control over fine texture compared to mechanical methods
Bath parameters (temperature, time, concentration) must be tightly managed to avoid over-etching
Requires thorough rinsing and neutralization to halt the reaction and prevent post-etch corrosion
Electrolytic Polishing (Electropolishing)
It is often considered the reverse of electroplating. Instead of depositing metal, the workpiece serves as the positive electrode (anode) in an acid electrolyte, with a cathode placed alongside. When DC current flows, metal ions dissolve preferentially from microscopic high spots on the anode, smoothing the surface into a bright, mirror-like finish.
Pros
Achieves extremely low Ra (surface roughness) and a mirror-like gloss superior to mechanical polishing
Improves corrosion resistance by removing embedded impurities
Puts no mechanical stress on the part or tooling
Can reach and polish internal holes, channels, and other hidden features
Cons
Requires specialized equipment (DC power supply, acid-resistant tank, filtration) and careful handling of hazardous chemicals
Only works on electrically conductive metals
Complex fixturing (custom cathodes or jigs) often needed for deep holes or irregular geometries
Demands thorough pre- and post-treatment (degreasing, rinsing, neutralizing)
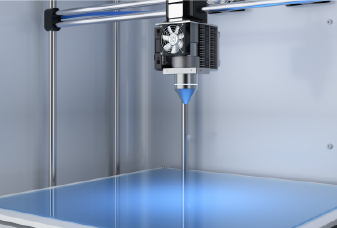
Vapor Polishing
Vapor polishing is used primarily on transparent or translucent plastics, especially 3D-printed ABS, PMMA, or PC, to improve optical clarity and surface smoothness. The part is placed in a sealed chamber where solvent vapor (for example, acetone or dichloromethane) gently melts surface layer peaks, erasing layer lines without any mechanical abrasion.
Pros
Particularly effective on transparent materials
Fast cycle times compared to manual sanding
Non-contact process, suitable for delicate or complex geometries
Smooths and seals micro-pores, improving chemical resistance and ease of cleaning
Cons
Requires precise control to avoid overexposure and deformation
Involves hazardous solvent vapors, necessitating proper ventilation and PPE
Limited to solvent-compatible plastics; not applicable to all polymers
Applications of Polishing Surface Finish
A highly polished surface is smooth, which reduces friction and wear between moving parts. This smoothness also makes surfaces less likely to harbor bacteria and easier to clean, reducing contamination risks.
Moreover, the brightness of polished metals boosts light reflectivity, often linked to luxury and quality, and it helps reflect heat, aiding thermal management. These benefits enable a wide range of applications across industries, including:
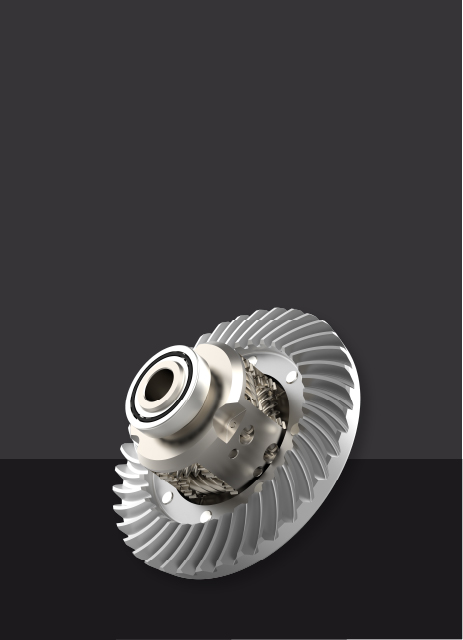
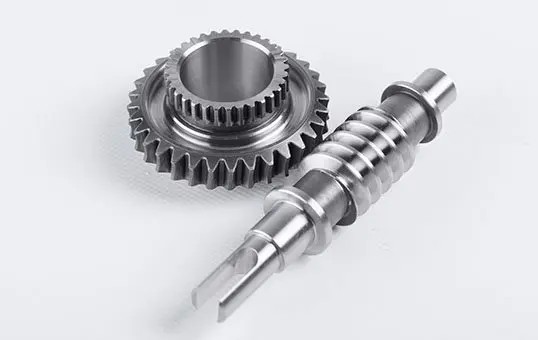
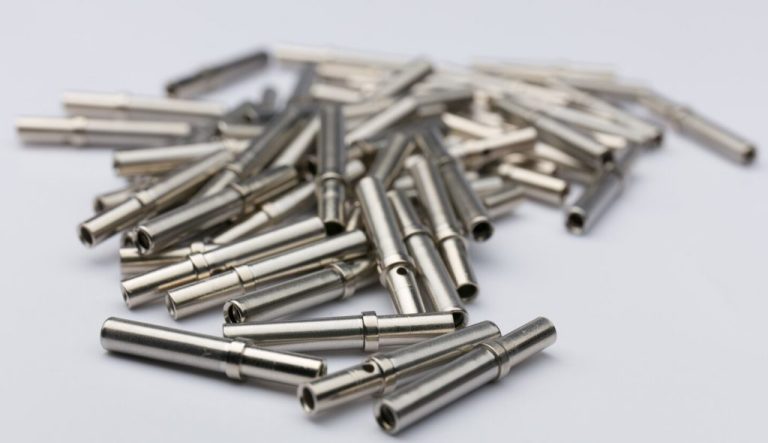
Mechanical components and automotive parts, such as gears, bearings, bumpers, rims, and trim.
Medical devices, including surgical instruments and implants.
Aerospace components, like polished turbine blades in jet engines.
Fluid-flow systems, particularly the internal surfaces of pipelines and fluid-handling aerospace parts.
Lighting systems and optical devices, including telescope mirrors and automotive headlights.
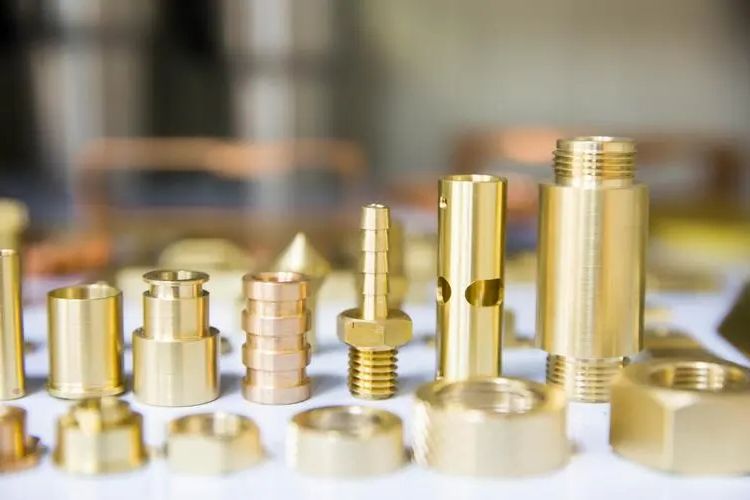
Consumer goods, from food-contact surfaces to jewelry and watches.
Finish Grade Options for Polishing Finishes
Different industries and regions use various systems to classify polished surface grades. Two common ways to specify a finish are by the abrasive grit size (which correlates to surface roughness) and by the visual luster. Typical classifications are shown below.
Finish Grade
Grit Size(ANSI)
Description
Coarse
40-60
Heavy polishing to remove large scratches and weld marks
Medium
80-120
Standard polishing for moderate smoothness
Fine
180-240
Fine polishing to achieve a smoother surface
Very Fine
320-1200
Ultra-fine polishing for a very smooth or near-mirror finish
Surface Roughness by Grit Size
Grade
Luster Description
Typical Applications
Matte
Subdued sheen that diffuses light
Hardware, art installations where glare must be minimized
Satin
Low-gloss, muted appearance
Interior design elements, appliance panels
Bright
Reflective sheen
Automotive detailing, jewelry, consumer-facing trim
For a consistently smooth, mirror-quality finish, consider these best practices:
Select the Right Polishing Technique
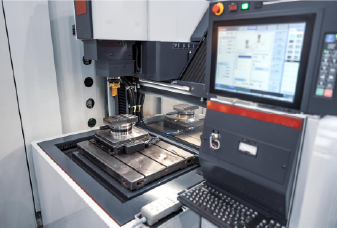
The best method depends on your material, part geometry, desired finish, and batch size. For most metals, mechanical polishing offers direct control for removing tool marks, while chemical polishing or electropolishing delivers a bright, corrosion-resistant sheen without contact and even reaches hidden channels. Vapor polishing erases layer lines on clear plastics. Vibratory finishing handles large batches efficiently, and hand tools or solvent vapors work best for one-off prototypes.
Use the Correct Abrasives and Tools
Select abrasives to match each polishing stage: 40–80 grit belts or discs for heavy defect removal, 120–240 grit pads for surface smoothing, and 400–800 grit on soft cotton or foam wheels for the final gloss. Additionally, choose pad stiffness to suit the part’s shape—rigid pads for flat areas and softer, flexible pads for curves and contours. Finally, adjust tool speed and pressure for each grit: lower RPMs and lighter pressure prevent overheating and extend abrasive life.
Clean Between Steps
After each polishing stage, remove all residue before switching grits. Wipe the part with a lint-free cloth and a bit of solvent (e.g., isopropyl alcohol), then clear grooves with compressed air. For intricate shapes, rinse with warm water and mild detergent, then dry fully. This prevents coarse particles from causing new scratches and ensures each grit works effectively for a consistent, smooth finish.
Inspect and Measure Regularly
Regular checks at key stages keep your parts on spec and out of rework. After each grit stage, inspect the surface under good lighting or with a loupe to confirm scratch removal and even gloss. Measure roughness using a portable profilometer or stylus tester to verify Ra, and use calipers or a micrometer to check critical dimensions. Catching any off-target finishes or dimensional deviations early lets you adjust pressure, speed, or abrasive grit immediately, ensuring the polishing process stays on track.
Document Your Process
When you document your polishing process, treat it like a recipe you want to nail every time. Record the part ID, date, and operator, then note the exact tools and abrasives you used—machine type, pad or wheel material, and grit sizes at each stage. Jot down your pressure settings, spindle speed or hand-tool RPM, and how long you spent on each grit. After polishing, log measured surface-roughness values, any defects you spotted, and what adjustments you made. Keeping these details in a shared format , whether a simple spreadsheet or a digital form,allows you to reproduce winning setups, spot patterns when things go wrong, and train new team members faster.
Conclusion
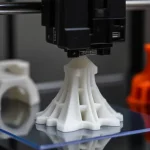
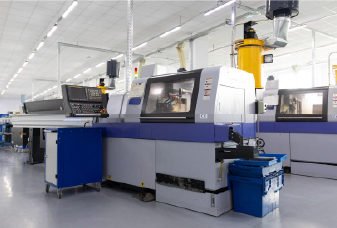
When the polishing surface finish enhances the aesthetic appeal of your products, it also improves their functionality. At Chiggo, we understand this, and we’re ready to turn your prototyping vision into reality. We offer high-quality CNC machining and 3D printing services, along with top-tier finishes, including polished surface finishes. We guarantee the results you expect at a competitive price. Contact us today for an instant quote!
Polishing Surface Finish FAQs
What are polishing compounds?
Polishing compounds are substances that contain fine abrasive particles mixed into a medium, which can be in the form of paste, bar, liquid, or powder. They are typically used in conjunction with polishing tools—such as wheels, pads, or cloths—to smooth and improve the surface finish of objects.
What's the difference between buffing and polishing?
Polishing is a process used to smooth out surface imperfections and prepare the surface, typically using coarser abrasives. It creates a uniform finish but doesn’t necessarily add shine. Buffing, on the other hand, is done after polishing and uses finer abrasives with softer wheels to achieve a high-gloss or mirror-like finish.
While polishing focuses on leveling the surface, buffing is aimed at enhancing the shine.
What is the difference between brushing and polishing?
Brushing and polishing serve different purposes and produce distinct finishes. Brushing creates a textured, matte finish that enhances durability and helps conceal imperfections and fingerprints. In contrast, polishing produces a highly reflective, smooth surface, improving both the surface quality and appearance.
What is the difference between polishing and finishing?
Polishing and finishing are related but not identical terms. Finishing is a broad term that covers all the processes used to improve a part’s surface after machining or fabrication, including cleaning, deburring, coating, painting, anodizing, and more. Polishing is just one type of finishing process, specifically aimed at smoothing and brightening a surface using abrasives to reduce roughness and create a uniform, often shiny, appearance. In short, all polishing is finishing, but not all finishing is polishing.