In today’s fast-paced manufacturing environment, plastic prototyping has become an essential step in turning ideas into tangible, testable products. Before committing to full-scale production, businesses rely on prototypes to validate design intent, evaluate functionality, and help minimize the risk of costly mistakes in later production stages. In many cases, a well-executed plastic prototype serves as the critical bridge between a concept and a commercially viable product.
So, how do you create a plastic prototype? It includes a mix of smart design decisions, the right materials, and suitable manufacturing methods—all of which we’ll break down step by step in this article.
What Is Plastic Prototyping?
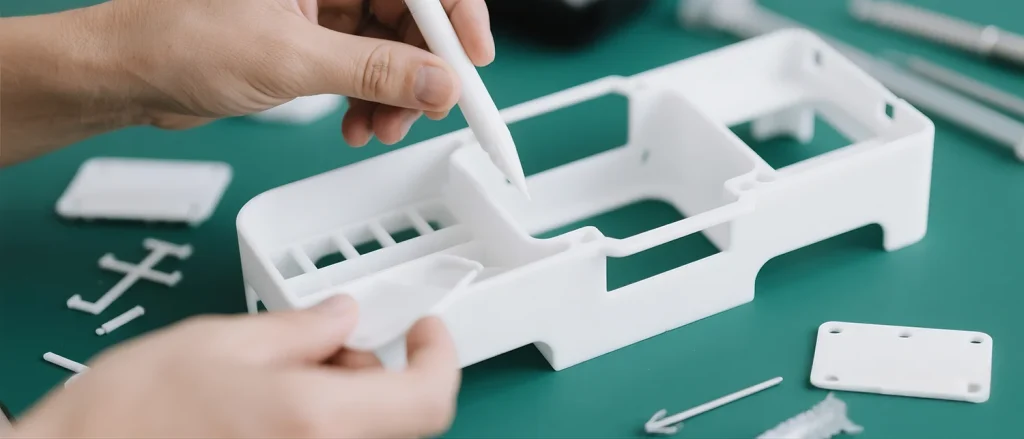
Plastic prototyping is the process of creating early, physical models or samples of a product using plastic materials. These prototypes help manufacturers test and refine the form, fit, function, and aesthetics of a product before full-scale production. This process allows the engineering team to validate design concepts, identify potential issues, gather user feedback, and ensure the product is manufacturing-ready and aligned with market needs.
Depending on the design’s maturity, a prototype may look like, work like, or closely resemble the final product. But "looks-like" and "works-like" are not the only ways to categorize prototypes. Below are additional common terms used to classify them:
Visual/tactile prototype: A preliminary version used to show basic features such as size and shape of a product, without concerning functionality or detailed appearance. FDM or SLA 3D printing is commonly used to quickly and cost-effectively produce these prototypes.
Functional prototype: Also known as a working prototype, it includes key features and materials to replicate core functions of the final product. It enables testing of fit, mechanical performance, and usability. For special requirements like food safety, clarity, or pressure resistance, methods such as machining or casting are often required.
High-resolution prototype: A near-final version that closely resembles the final product in appearance, function, and finish. It is ideal for stakeholder presentations, user testing, marketing, or pre-production approval. High-detail techniques like SLA, PolyJet, or vacuum casting are commonly used.
As these prototypes become more refined, they go through multiple testing phases to ensure readiness for production. These testing stages are important to validate design integrity, performance, and manufacturability.
There are three types of testing commonly used:
Engineering Validation Testing (EVT) is typically conducted in the early stage of prototyping, verifying whether the product’s core functions perform as intended. This phase focuses on identifying fundamental design flaws and potential issues, providing valuable feedback for further design improvements.
Design Validation Testing (DVT) is typically carried out after initial design validation and optimization. It not only verifies the product’s functionality but also comprehensively tests its usability, reliability, compliance with regulations and standards, and other aspects.
Production Validation Testing (PVT) is performed when the product design is nearly finalized and approaching mass production. It is a crucial transition from pilot runs to full-scale manufacturing. PVT focuses on validating production line setup, manufacturing processes, and equipment calibration. It includes production testing, First Article Inspection (FAI), and confirmation that the product can be built at scale with consistent quality.
Common Methods for Plastic Prototyping
In the product development cycle—from early concept validation to pre-production testing—different techniques are employed to meet diverse objectives. Some methods prioritize quick iteration, while others aim to replicate the final product’s quality and performance. In plastic prototyping, four widely used fabrication methods stand out for their unique advantages and versatility.
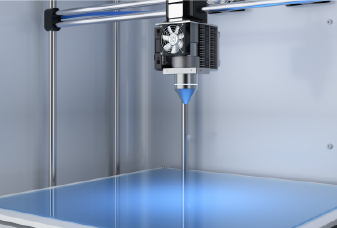
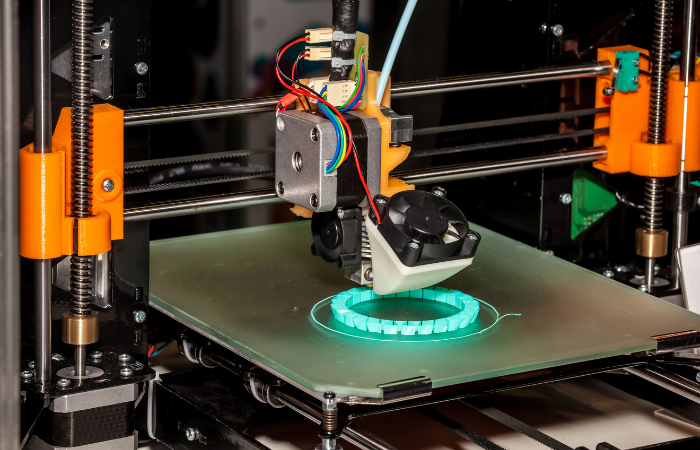
3D printing
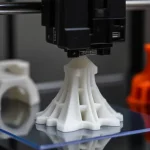
3D printing, or additive manufacturing, is an umbrella term encompassing a diverse array of techniques that build three-dimensional objects by adding material layer by layer from a digital model. These techniques support rapid prototyping and multiple iterations and can produce complex geometries without the need for molds or custom tooling. Below are three of the most popular methods for fabricating plastic prototypes:
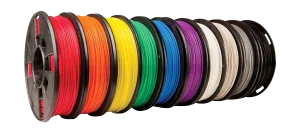
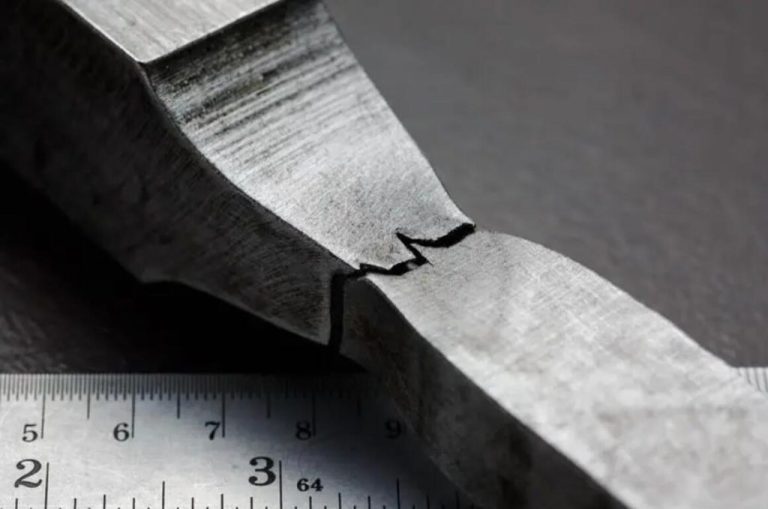
Fused Deposition Modeling (FDM): A low-cost 3D printing method, widely used for early-stage concept models and simple functional prototypes. It extrudes thermoplastic filaments like PLA, ABS, or PETG through a heated nozzle, depositing material layer by layer. However, FDM parts may have visible layer lines and reduced structural integrity.
Stereolithography (SLA): Uses a UV laser to cure liquid resin in a vat, producing parts with high precision and excellent surface finish. This makes it a top choice for visual models, high-resolution prototypes, and presentation-grade parts. However, SLA is generally more expensive due to specialized resins and equipment, and its printed parts are typically more brittle than thermoplastics. Post-curing is often required to achieve full mechanical strength.
Selective Laser Sintering (SLS): Uses a high-powered laser to fuse powdered plastics like nylon or TPU into solid layers, producing durable and functional prototypes. Since unsintered powder surrounds the part during printing, no support structures are needed—making SLS well-suited for complex geometries, internal channels, and enclosed features. However, printed parts often have a slightly grainy surface finish and may require post-processing for a smoother appearance.
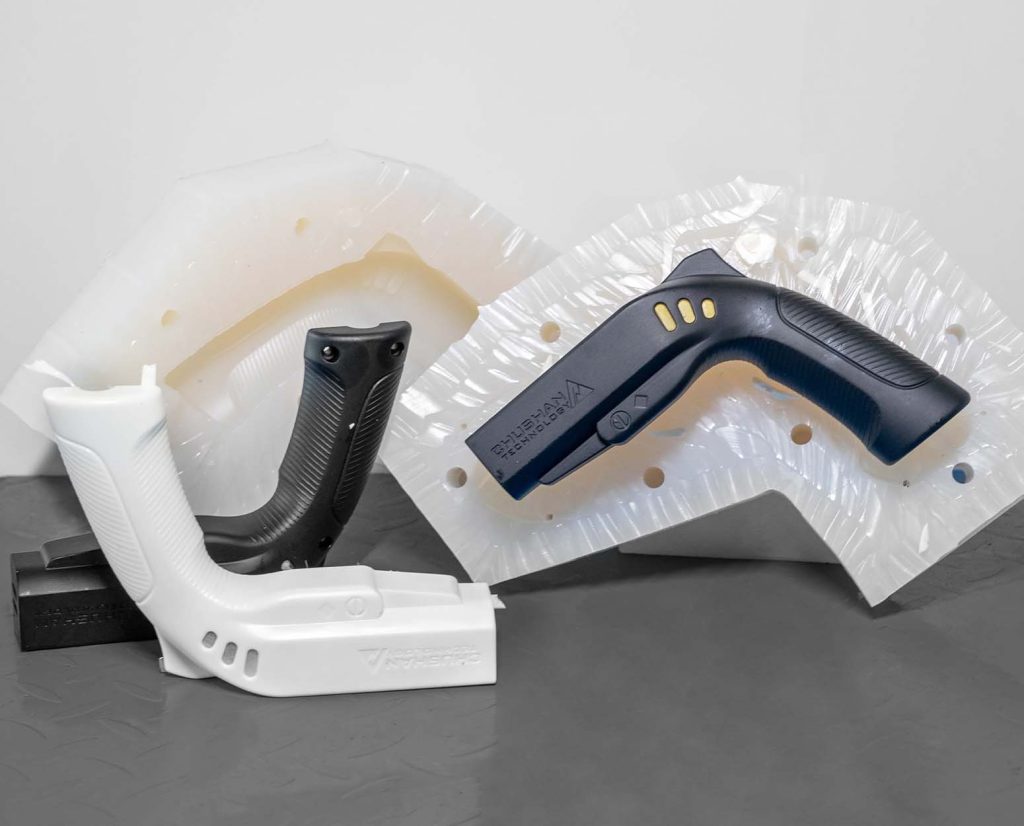
Vacuum Casting
Vacuum casting, also known as urethane casting, is a low-volume manufacturing method that uses silicone molds and polyurethane resins to produce plastic parts with high surface quality and fine detail. The process begins with a high-quality 3D-printed master model, which is used to create a flexible silicone mold capable of replicating complex geometries and subtle surface features.
This technique is typically used in later prototyping stages when the design is mature and a small batch of consistent prototypes is needed. It is especially well-suited for producing functional prototypes, presentation models, and fit-checking components such as casings, housings, or covers.
In particular, vacuum casting is a cost-effective solution for producing 10 to 100 units for engineering validation testing. When multiple identical parts are required, it often provides lower per-unit costs than 3D printing—especially for short-run replication. Additionally, silicone molds are less expensive than metal molds but have a limited lifespan, typically producing 20 to 25 parts per mold.
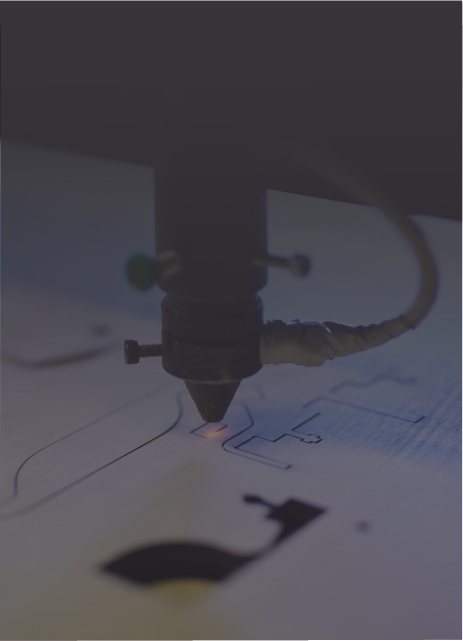
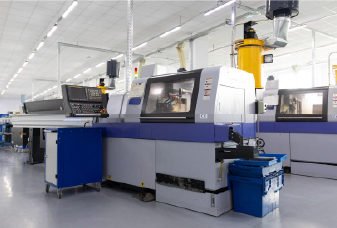
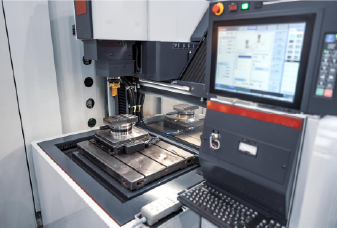
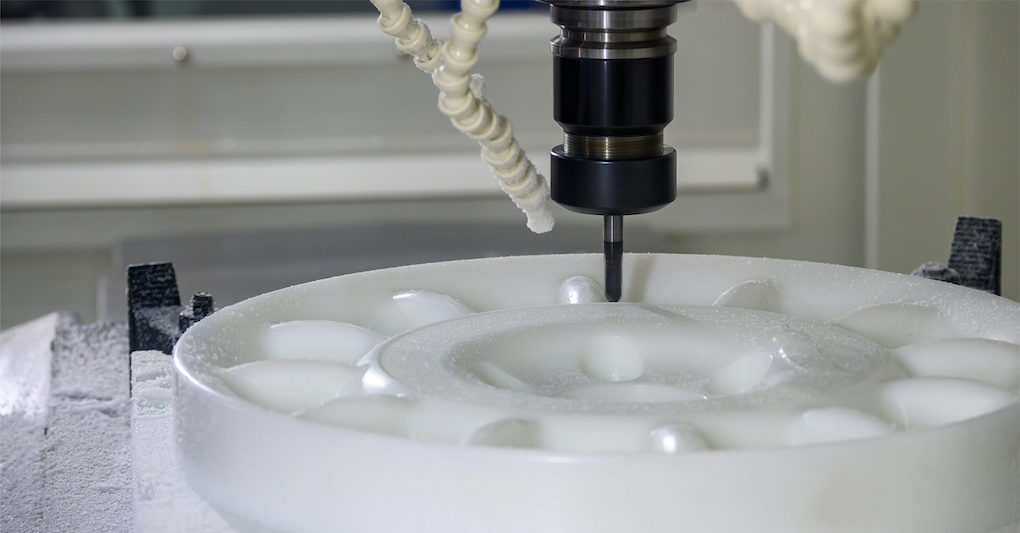
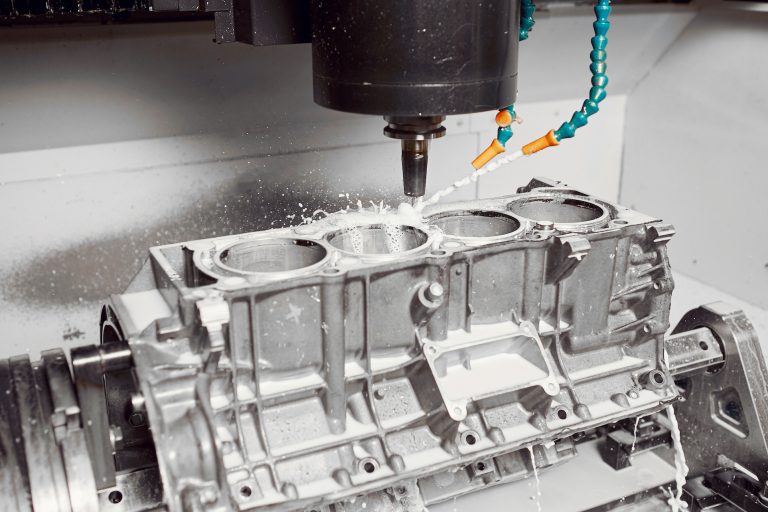
CNC Machining
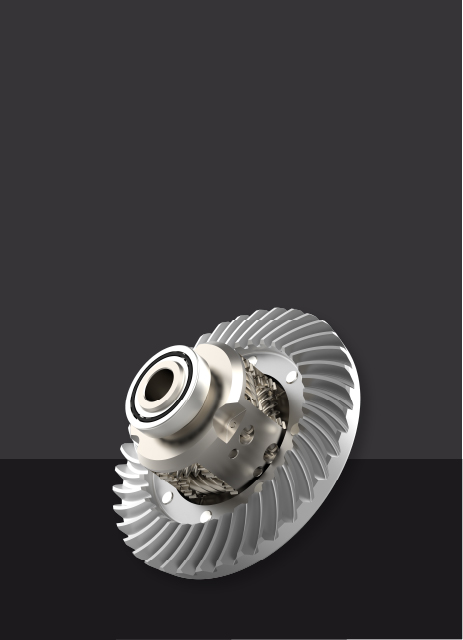
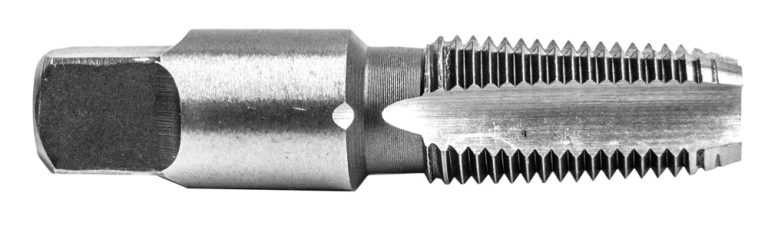
CNC machining plastic uses computer-controlled machine tools to remove material from a solid block. This process supports tight tolerances and offers excellent repeatability, enabling the creation of complex geometries— including fine threads, undercuts, and other intricate features.
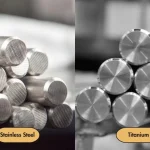
CNC machining is often used for mid-to-late stage functional prototypes that demand high accuracy and strength. It provides uniform material properties for reliable fit, form, and function testing—unlike 3D printing, which can suffer from interlayer weaknesses. The process also allows for the use of various materials, giving you the flexibility to choose the best option for your specific needs. Available services include milling, turning, and gear hobbing.
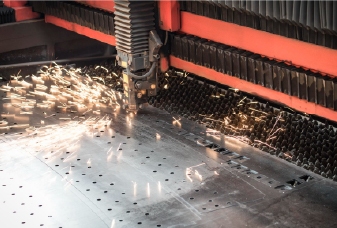
Injection Molding
Injection molding isn’t usually the first choice for prototyping because it takes a long time and costs more. However, Chiggo can rapidly and cost-effectively produce steel molds for PVT—the final testing stage before production—with T1 samples (the first parts produced from the production tool) available in as fast as 10 days.
Additionally, when producing 100 or more plastic prototypes, quick-turn methods using aluminum or 3D-printed molds with a standard mold base can reduce both time and cost without sacrificing quality, although they typically offer lower precision and are not as durable as steel molds.
Common Materials for a Plastic Prototype
Collectively, the four plastic prototyping methods support a wide range of plastic resin materials. As the table below shows, however, there are differences in what each method supports.
Materials
3D Printing
Vacuum Casting
CNC Machining
Injection Molding
ABS
Good
Good
Excellent
Excellent
Polycarbonate (PC)
Fair
Good
Good
Excellent
Polypropylene (PP)
Fair
Fair
Fair
Excellent
Nylon
Excellent
Good
Good
Good
Acrylic (PMMA)
Good
Excellent
Fair
Good
Polyethylene (PE)
Poor
Fair
Fair
Excellent
Polylactic Acid (PLA)
Excellent
Fair
Fair
Fair
Thermoplastic Polyurethane (TPU)
Good
Good
Poor
Good
Polyether Ether Ketone (PEEK)
Good
Poor
Excellent
Excellent
Acetal (POM)
Fair
Good
Excellent
Excellent
Polyethylene Terephthalate (PET)
Good
Fair
Good
Excellent
Polyvinyl Chloride (PVC)
Fair
Good
Fair
Excellent
Keep in mind that :
1. Vacuum casting ratings reflect the feasibility of analogous PU resins, not the direct casting of the base polymer.
2. The 3D printing ratings are based on the most mature and cost effective additive process for each material:
FDM/FFF: Suitable for ABS, PLA, PETG, TPU (low to mid temperature plastics). It struggles with high shrink PP/PE. High temperature machines can print PEEK but require stringent process control.
SLS/MJF: Nylon PA11/PA12 and their composites are Excellent; dedicated PP powder is Fair; PE, PVC, TPU remain niche or experimental.
SLA/DLP: Prints acrylic like, ABS like, and PP like photopolymers with excellent clarity and surface finish, but mechanical properties lag behind the native plastics; not suitable for semi crystalline engineering plastics such as POM or PEEK.
3. The same material can perform differently depending on the method. For instance, an ABS part made by CNC may not match the strength or finish of an injection-molded one due to structural differences.
4. Always align your material choice and manufacturing method with your current testing phase and performance goals.
A Step-by-Step Guide to Make a Plastic Prototype
Next, we'll explain step by step how to build a plastic prototype and highlight the key considerations along the way.
Step 1: Clarify Which Type of Prototype You Need
Before getting into the technical process, it’s crucial to identify the purpose and intended use of your prototype. The application will determine which type of prototype is most suitable:
If you're in the early ideation stage and need to explore or present a product’s form, size, or ergonomics—without worrying about functionality—a concept model is appropriate.
If the goal is to test mechanical behavior, evaluate part interaction, or simulate user experience, a functional prototype is the right choice.
For visual validation, stakeholder presentations, or marketing materials, a high-resolution prototype offers the refined appearance and accuracy needed.
If you're preparing for mass production and need to verify materials, manufacturability, or compliance with industry standards, a production-level prototype will help ensure readiness.
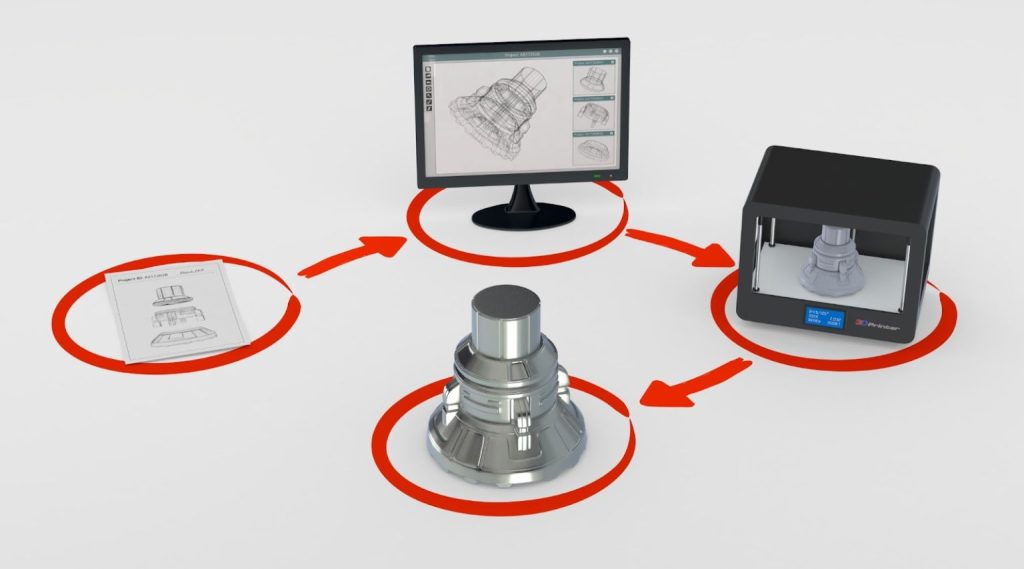
Step 2: Prepare a CAD Model
Once you’ve clarified the type of prototype needed, the second step is to create a CAD (Computer-Aided Design) model, which serves as the digital blueprint for your prototype. The CAD model defines the part’s geometry, dimensions, and assembly interfaces. A clear and well-prepared CAD file can reduce ambiguity, minimize production errors, and accelerate the prototyping process.
To ensure manufacturability, you may follow the below points:
Define critical dimensions and tolerances, especially for moving parts or interfaces.
Include assembly relationships if your product is multi-component.
Consider draft angles, wall thickness, and undercuts if you're planning to use molding techniques.
Prepare 2D drawings if needed, to highlight key specs that may not be obvious in the 3D model.
Step 3: Choose the Right Prototyping Method
Once your design is finalized, choose a prototyping method that fits your timeline, budget, material needs, and performance requirements. Each method offers unique strengths and trade-offs—some favor rapid iteration, while others excel in functional testing or production validation. The table below compares four common prototyping methods based on cost, lead time, and suitability for different development stages to help you decide.
Items
3D Printing
Vacuum Casting
CNC Machining
Injection Molding
Tooling Cost
N/A
Low
N/A
High
Unit Cost
Moderate
High
High
Low
Quantities
1-50
5-100
1-50
100 and over
Lead Time
Hours to days
1-2 weeks
3-7 days
≥ 2 weeks
Plastic Material Options
Moderate
Good
Good
Excellent
Early Stage Prototypes
Excellent
Moderate
Good
Poor
Aesthetic
Good
Excellent
Good
Excellent
Form and Fit Prototypes
Moderate
Good
Good
Excellent
Functional Prototypes
Moderate
Good
Excellent
Excellent
Create Plastic Prototypes with Chiggo
Plastic prototyping is a critical step that bridges your design to production—it helps reduce costs by identifying design issues early, minimizing rework, and avoiding expensive tooling changes— ultimately helping you accelerate your path to market. At Chiggo, whether you need a single prototype, small-scale customized production, or ready to move toward full-scale manufacturing, we've got you covered. Our experienced engineers and designers work closely with you to optimize your design and ensure it can be manufactured smoothly. Moreover, we have no minimum order requirements. Have an idea in mind? Contact us today and let’s bring it to life!